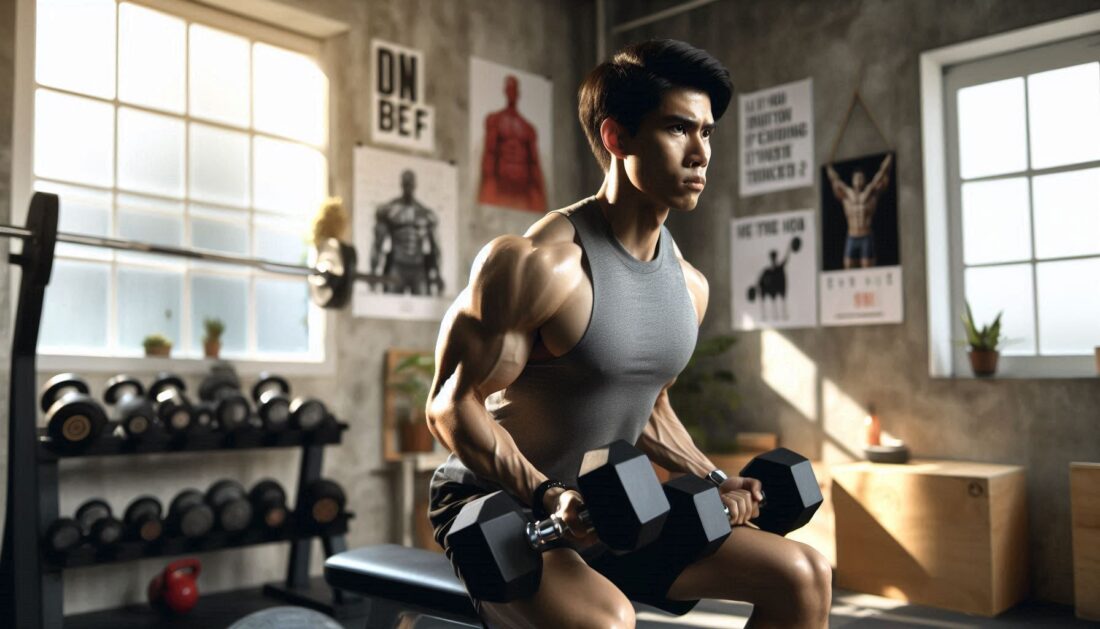
Starting a workout routine with the squat rack is one of the smartest things I’ve done for my strength and overall fitness. If you’re new to lifting or just getting comfortable with free weights, mastering squat rack exercises can really set you up for steady progress. You don’t have to know every technique right away. Just get familiar with the basics, focus on form, and gradually get stronger. The Centr App has been proven to help and guide you from beginners to advance styles of lifting starting with body weight leading to squat rack exercises.
Squat racks aren’t just for squats. They make it safe and easier to perform a bunch of compound lifts, which basically means you’re hitting multiple muscle groups at once. This not only saves time but also gives you a more balanced workout. If you’re curious about what exercises you can start doing, or how to get the most out of your squat rack, I’ll walk you through the essentials.
By learning the proper way to use a squat rack, you’ll unlock a whole new level of strength training, no matter what your starting point is.
Getting Started: Why the Squat Rack is Perfect for Beginners
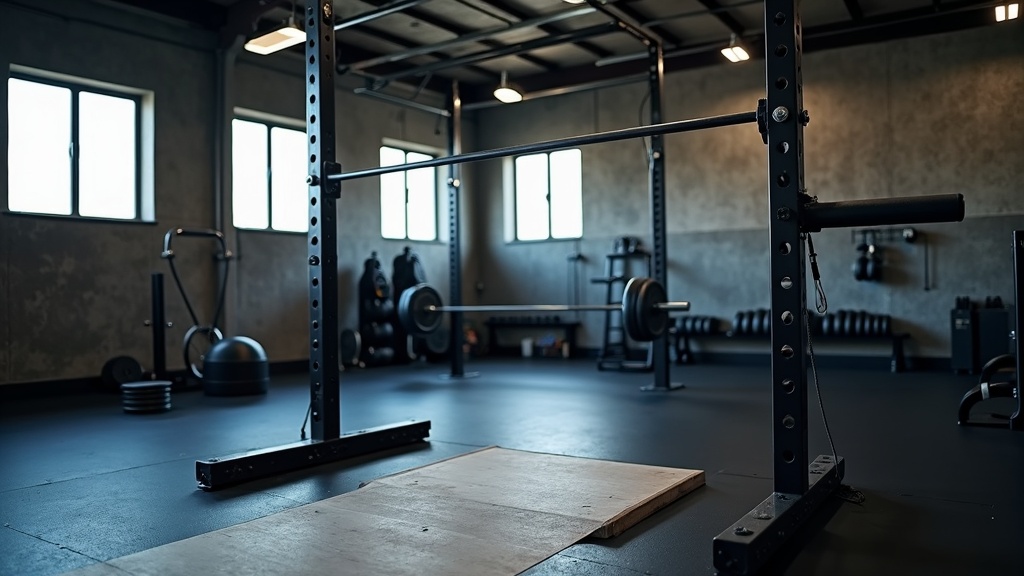
Stepping up to the squat rack for the first time can feel a bit intimidating, but honestly, it’s pretty beginner friendly. The rack provides safety bars and adjustable heights, so you don’t need a spotter. Plus, you can adjust the barbell to just the right height for your body.
Why Compound Exercises?
- They work multiple muscles at the same time, giving more results in less time.
- They help you build core strength and get better at everyday movements, not just lifting in the gym.
- It’s easier to track progress, boost confidence, and stay motivated.
- They allow you to test & Improve your overall strength by easily stacking on more weights as you improve and progress.
Top 5 Beginner Squat Rack Exercises
If you’re new, here are the best exercises to get comfortable with using your squat rack. These aren’t about fancy moves. They’re seriously effective and will help you build solid strength over time.
1. Barbell Squats
Barbell squats are pretty much the main reason squat racks exist. Place the bar just below shoulder height, load up a manageable weight, and step under. Stand up straight, take a step back, and squat down by sending your hips back and bending your knees. Aim for thighs parallel to the ground, then push through your feet to stand tall. Think about keeping your chest up and your back flat.
- Tip: Start with just the empty bar if you’re unsure. Going too heavy too early can mess with your form.
- Another good tip is to use a technique called “stacking your ribs over your pelvis”. This form helps align the ribs and pelvis together , keeping a stabilized strong form to prevent injuries on your lower back but also performing a stronger lift.
2. Barbell Deadlifts (Rack Pulls)
Normally, deadlifts are pulled from the floor, but rack pulls are great for learning the movement with the help of a squat rack. Set the safety bars just below your knees and load the barbell there. This version is easier on your lower back and lets you focus on good form.
- Tip: Keep your back straight and pull your shoulders back as you lift. Don’t round your spine.
3. Bench Press (With the Rack)
If your squat rack is open or has safety arms, you can slide a bench in and set up a classic bench press. Line up the bench and rack the bar so it hovers right over your eyes when you lie down. Lower the bar slowly to your chest and press it back up.
- Tip: Always make sure the safety bars are at the right height to catch the bar if you get stuck.
4. Overhead (Military) Press
The overhead press, sometimes called the military press, works your shoulders and upper chest. Rack the bar around chest level, grip it just wider than shoulder width, and press straight up over your head, locking out your elbows. Lower it carefully to your chest before your next rep.
- Tip: Don’t flare your ribs out. Tighten your core and squeeze your glutes throughout the lift.
5. Bent Over Rows
Start with the bar at about midthigh on the rack, pick it up, and hinge at your hips. Keep your back flat and pull the bar toward your lower chest or stomach. You’ll feel this in your back and arms.
- Tip: Make sure not to round your back. If needed, practice with light weights first.
Mastering Pull-Ups on the Squat Rack
Many squat racks come with a built-in pullup bar. Pullups are awesome for building a strong back and arms, plus they’re just a really eye-catching skill to master. If you can’t do a full pullup yet, no worries. I started out doing hangs or using a resistance band for support.
- Grip the bar just wider than your shoulders and pull your chest up towards the bar.
- Focus on squeezing your shoulder blades together and avoid swinging.
If you get into pullups, you’ll quickly spot progress as your lats and upper back start to develop. Some people use strengthening bands to help with this, or do negative reps by jumping up and slowly lowering yourself down. Just doing hangs on the bar helps train your grip and shoulder strength, prepping you for full reps down the line.
Form and Technique: Why It’s So Important
Progress comes from consistency and good technique, not from piling on heavy weights too fast. Here are some quick pointers that helped me avoid bad habits:
- Keep your movements slow and controlled. Rushing often leads to poor form.
- Film yourself or check your form in the mirror. Sometimes what you feel and what you do can be different.
- If something feels off or painful, back off and check your technique.
Common Mistakes to Watch Out For
- Letting your knees cave in on squats
- “Bouncing” the bar off your chest during bench press
- Rounding your back on any lift
- Arching your lower back too much during overhead press
Building a Beginner Squat Rack Routine
Getting stronger is all about small improvements over time. Here’s a super simple framework for a beginner’s squat rack workout that hits the major muscle groups:
- Squats: 3 sets of 8-10 reps
- Bench Press: 3 sets of 8-10 reps
- Bent Over Row: 3 sets of 10 reps
- Overhead Press: 3 sets of 8 reps
- Rack Pulls or Deadlifts: 2-3 sets of 8 reps
- Optional Pull-Ups: 2-3 sets to failure or max reps
Rest times depend on your goals. If you are focusing on strength & maximizing your 1 – 6 reps max, rest at least 3 – 6 minutes between sets, and don’t chase heavy weights right off the bat. Progressively add weight every week or two as your form and strength improve. As you keep tracking your lifts, you might notice some lifts improve faster than others, and that’s perfectly normal. Remember, the key is patience and persistence, not perfection.
Staying Consistent and Motivated
I found the key is not trying to master everything at once. Just show up and focus on making a little bit of progress each week. Write down your lifts or track them with an app so you can see real improvements. Try not to compare yourself to others, because everyone starts somewhere.
- Focus on good sleep and eating enough to recover. You’ll feel and see the benefits faster.
- Don’t worry about complicated routines. Enjoy the basics, and you’ll notice gains in strength and confidence.
- Consider finding a workout buddy or joining a gym community to help keep you accountable. Sometimes having someone to share progress or challenges with gives a big boost to your motivation.
Small rewards, like treating yourself to a new gym shirt or favorite smoothie when you hit a milestone, really make the grind more fun. Celebrate those little successes!
FAQ: Common Squat Rack Questions for Beginners
What if I’m nervous about using the squat rack at the gym?
Everyone starts somewhere. Even those people you see loading big plates. Start with light weights and take your time. Most gymgoers are focused on their own workouts and won’t mind sharing the rack. Gym staff and trainers are also there to help, so feel free to ask for advice or even a quick demonstration if you need some assurance.
Is it okay to use the squat rack for other lifts?
Absolutely. The squat rack is perfect for any barbell lift where you want the safety and support. Just make sure you’re not holding up the rack during busy gym hours if others are waiting. It’s always a good move to let people know your estimated set time or offer to work in if someone is waiting for the rack. Courtesy goes a long way.
How can I stay safe while lifting alone?
- Always use the safety bars.
- Don’t be afraid to leave reps unfinished if you feel your form slip.
- Doublecheck the weight clips and barbell placement before every set to avoid any accidents.
- If you ever feel unsure about a lift, reduce the weight or ask a staff member for guidance.
Your Next Steps
Pick one or two new squat rack moves to try out in your next workout. Start with lighter weights, pay attention to your form, and you’ll feel more confident each time. Progress isn’t about rushing, but about building strength you’ll keep for years.
Action Plan:
- Choose one or two squat rack exercises to practice this week.
- Track your lifts and celebrate small improvements.
- Ask trainers or experienced lifters if you want a quick form check. Most are happy to offer tips.
Which squat rack exercise are you most interested in learning? Share your thoughts below or let me know how your beginner sessions go! If you stick with these basics and focus on steady improvement, you’ll be amazed at how strong you get. Remember, everyone starts somewhere, and your progress is your own adventure. The squat rack is there to help you build a solid foundation; soon, you’ll look back and be proud of how far you’ve come!